
Quality tools represent a significant investment, whether you're a professional contractor or a dedicated DIY enthusiast. The difference between a tool that lasts five years and one that serves you for decades often comes down to maintenance. Yet tool care remains one of the most overlooked aspects of workshop management. This comprehensive guide will help you protect your investment and ensure your tools perform at their best for years to come.
Power Tool Maintenance Essentials
Cordless power tools have revolutionized how we work, but their complexity demands more attention than traditional hand tools. Battery-powered drills, impact drivers, and saws contain motors, electronics, and battery systems that all require specific care.
Battery Care: The Foundation of Cordless Tool Longevity
Modern lithium-ion batteries are remarkably durable, but they're not indestructible. Temperature extremes are their greatest enemy. Never store batteries in unheated garages during winter or in hot vehicles during summer. Ideal storage temperature ranges from 50-77°F (10-25°C). If you work in extreme conditions, bring batteries indoors when not in use.
Contrary to popular belief, you don't need to fully discharge lithium-ion batteries before charging. In fact, partial discharge cycles are healthier for the battery. Charge your batteries when they reach 20-30% capacity rather than waiting until they're completely dead. For long-term storage (more than a month), charge batteries to approximately 40-50% capacity. This sweet spot minimizes degradation during storage periods.
Motor and Housing Maintenance
After each significant job, take two minutes to clean your power tools. Use compressed air to blow out dust from ventilation slots—accumulated sawdust and debris restrict airflow, causing motors to overheat. For stubborn buildup, a soft brush works well, but never use compressed air at close range on bearings or motors, as this can force debris deeper into sensitive components.
Inspect chuck jaws on drills quarterly. Debris buildup prevents proper bit grip, leading to slippage and potential injury. Remove the chuck periodically (consult your manual for specific procedures) and clean the threads. Apply a light coating of machine oil to the threads before reassembly. This simple step prevents seizing and maintains smooth operation.
Pay attention to unusual sounds or vibrations—they're early warning signs. A grinding noise might indicate worn bearings, while excessive vibration could signal an imbalanced component. Address these issues immediately rather than waiting for complete failure. Most manufacturers offer repair services, and catching problems early typically means simpler, less expensive fixes.
Hand Tool Care: Time-Tested Practices
Hand tools built with quality materials can literally last generations with proper care. The wrenches and hammers your grandchildren use might be the ones you buy today—if you maintain them correctly.
Preventing Rust: Your Primary Concern
Moisture is the enemy of metal tools. Even in climate-controlled shops, humidity fluctuations can cause surface rust. After each use, wipe metal tools with a clean, dry cloth. For tools used in damp conditions, apply a thin coat of machine oil or specialized tool protectant. WD-40 works in a pinch, though dedicated tool oils provide better long-term protection.
Store tools in a dry environment. If your workshop tends toward dampness, consider a dehumidifier or silica gel packets in your toolbox. Tool chests with felt or foam drawer liners provide some protection, but these materials can trap moisture if they get wet. Replace damp liners immediately.
Adjustable Wrenches and Pliers
These workhorses deserve special attention. The adjustment mechanisms on wrenches and pliers contain moving parts that wear over time. Every few months, clean the adjustment screw and threads with a solvent like mineral spirits, then apply a drop of machine oil. Work the adjustment through its full range several times to distribute the lubricant evenly.
Check for smooth operation—the jaw should slide easily without excessive play. Worn adjustment mechanisms compromise grip strength and can damage fasteners. If the jaw wobbles significantly or won't hold adjustment, replacement is safer than struggling with an unreliable tool.
Saw Blade and Cutting Tool Sharpness
Dull cutting tools are dangerous tools. They require more force, increasing the chance of slipping and causing injury. They also produce poor results, making extra work for you.
For handsaws, professional sharpening services are cost-effective for quality saws. Most hardware stores can recommend local saw sharpeners. Alternatively, learn to sharpen saws yourself—it's a valuable skill, though it requires practice and specific tools (saw files and a vise).
Circular saw blades and router bits should be professionally sharpened once they require noticeably more feed pressure. For general construction work, plan on sharpening every 8-12 months of regular use. Carbide-tipped blades can be sharpened multiple times before replacement becomes necessary.
Between professional sharpenings, keep blades clean. Pitch and resin buildup from cutting wood dulls blades prematurely. Soak blades in a solution of Simple Green or specialized blade cleaner, then scrub with a brass brush. Never use steel brushes on carbide teeth—they can chip the cutting edges.
Organization: Maintenance Through Prevention
Proper storage is preventive maintenance. Tools tossed in a pile suffer damage from contact with each other. Cutting edges nick, adjustment mechanisms bend, and precision surfaces scratch.
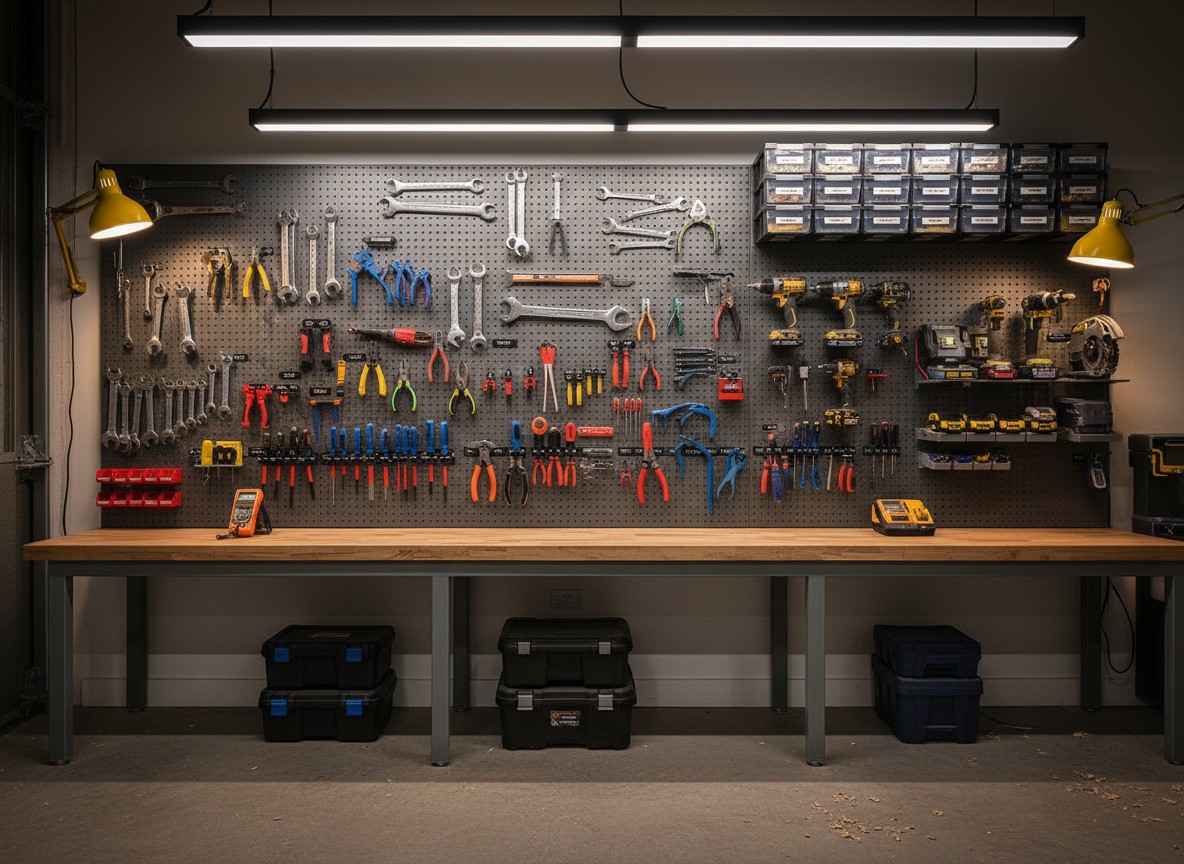
Implement a "home for every tool" system. Shadow board storage (where tool outlines are painted or taped on the wall) immediately shows what's missing and encourages returning tools to their proper place. This system also makes inventory management simple—you can see at a glance what needs replacement or maintenance.
Use toolbox foam inserts or drawer organizers to separate tools. This prevents contact damage and makes finding the right tool faster. Time spent searching for tools is time wasted, and frustration leads to poor tool handling—a recipe for both damage and injury.
Regularly audit your tool collection. Set aside time quarterly to inspect every tool. Check for damage, test moving parts, clean as needed, and make a list of tools requiring professional service or replacement. This systematic approach catches small problems before they become safety hazards or expensive failures.
When to Repair vs. Replace
Not every damaged tool warrants repair. Understanding when to invest in repair versus replacement requires evaluating several factors.
For power tools, consider the tool's age and the repair cost. If repair costs exceed 50% of replacement cost for a tool more than five years old, replacement usually makes more sense. However, for premium brands or discontinued models, higher repair costs might be justified. Professional-grade tools often merit repair even at higher costs—their superior build quality means repaired tools can outlast new consumer-grade replacements.
Hand tools follow different economics. Quality hand tools can be repaired repeatedly. A $100 adjustable wrench that needs a $20 replacement part remains a better investment than a $30 replacement wrench of inferior quality. Conversely, inexpensive hand tools that fail usually aren't worth repairing—use failure as an opportunity to upgrade to better quality.
Creating Your Maintenance Schedule
Consistency separates tools that last from tools that fail prematurely. Create a maintenance schedule and stick to it:
After Each Use: Clean tools, wipe down metal surfaces, check cords and hoses for damage, return tools to proper storage.
Weekly (for frequent users): Inspect battery contacts, check blade and bit sharpness, lubricate moving parts on frequently used tools.
Monthly: Deep clean power tools with compressed air, inspect power cords carefully, check all safety guards for proper function, organize and inventory small parts and accessories.
Quarterly: Comprehensive tool inventory, rust inspection and treatment, battery performance evaluation, professional sharpening of saw blades and bits.
Annually: Professional service for critical power tools, replacement of worn consumables (brushes, bearings if accessible), evaluation of tool needs for upcoming year.
Quality tools represent a partnership between manufacturer and user. The manufacturer provides the engineering and materials; you provide the care. Honor that partnership with proper maintenance, and your tools will reward you with decades of reliable service. The hour you invest in maintenance each month saves hundreds in premature replacements and thousands in lost productivity from tool failures during critical projects.